Our short guide will help you navigate studio photography without overwhelming you. Here’s our list of the tools you need and some tip on setting up your studio space!
The Ideal Spaces for Studio Photography
When looking for space for studio photography, also consider the number of windows on the property. If you’re a natural light photographer, you will need plenty of windows. But if you want to use artificial lighting exclusively, it would be preferable to have a place without windows at all to avoid window lights from interfering with your lights. In reality, most photographers use both window lighting and artificial lighting. If that’s the case for you, then look for a space that lets you block out the windows when you don’t need the ambient light.
Light Sources
There are tons of options for artificial lights. It mostly depends on your budget and the size of your photo studio. We’ll go through your choices below.
LED Lights
Speedlights
Monolights
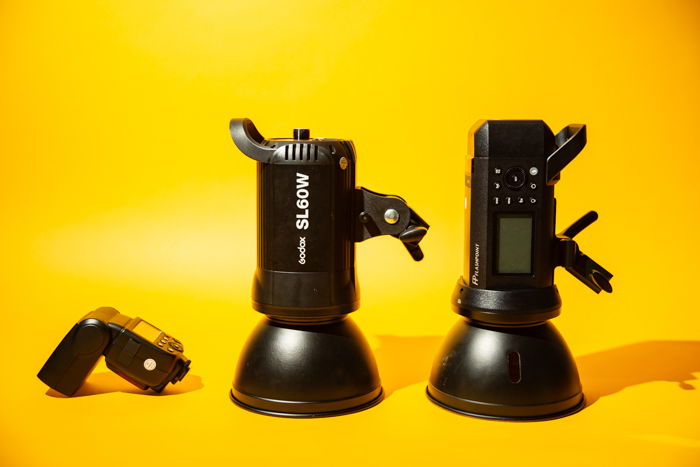
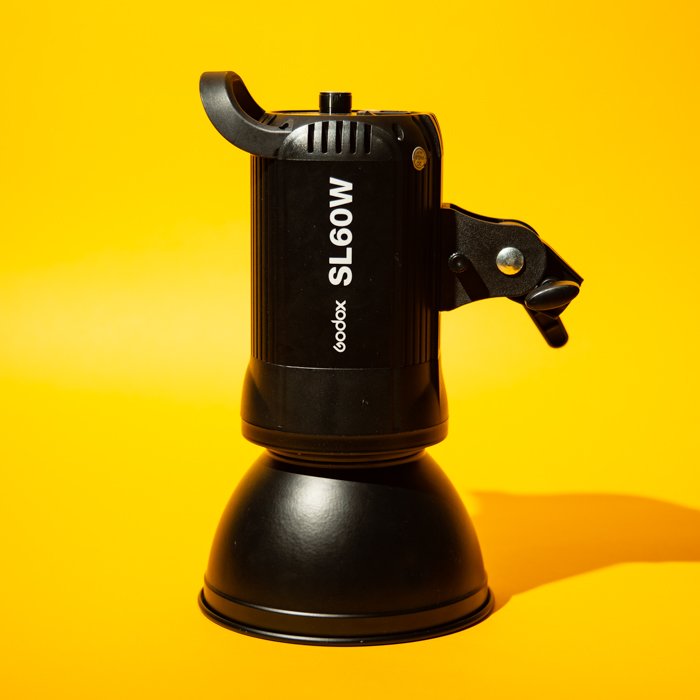
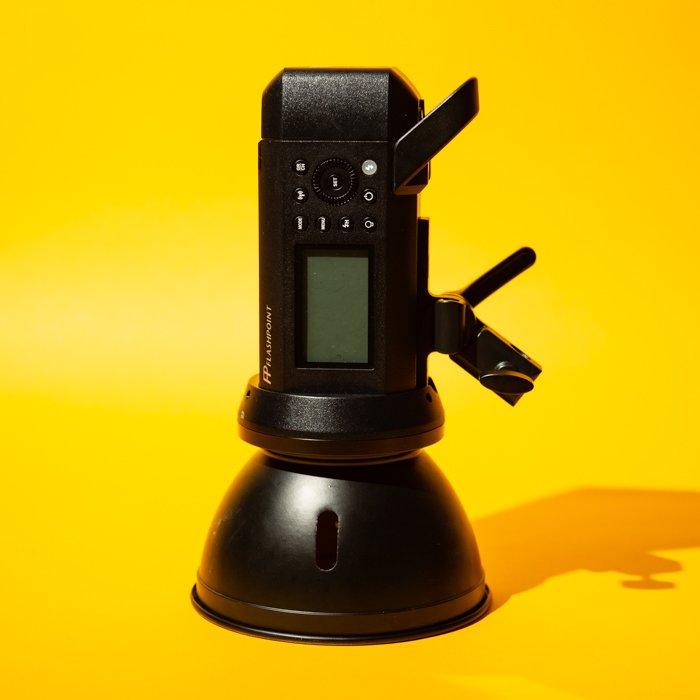
Monolights are the best lighting option for your photo studio. You can think of them as a combination of a high-powered Speedlight and an LED lamp. Even though they’re strobe lights, they also include a modeling light. That way you can see how your light is affecting your subject in real-time. A moonlight’s light output is at least three times more powerful than speedlights or LEDs. They’re also perfect for large photo studios because they can illuminate large spaces.
Light Modifiers
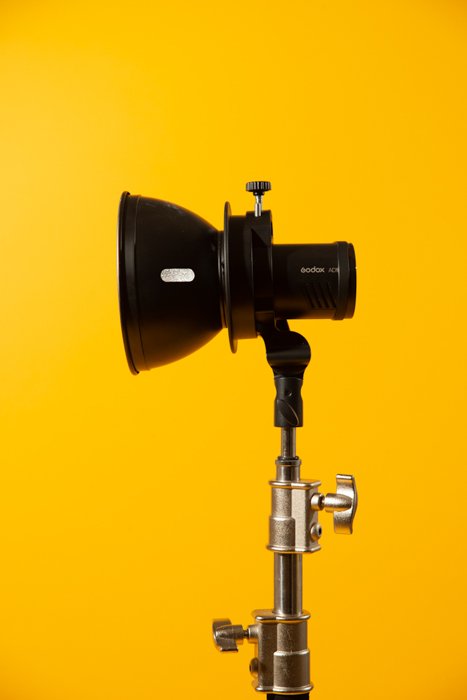
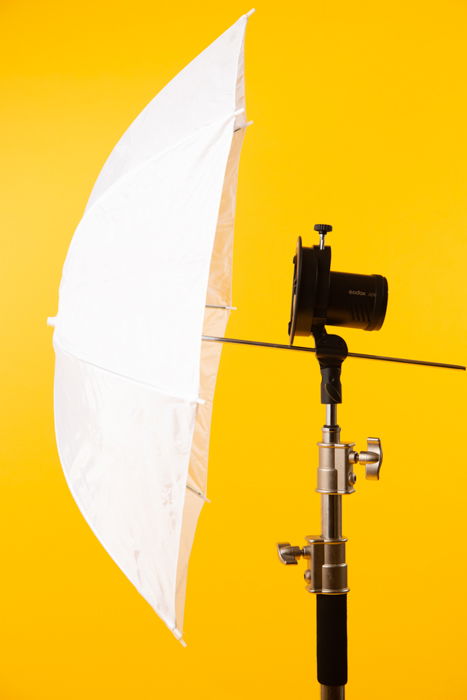
Apart from studio lights, you’ll also need light modifiers. These pieces of lighting equipment diffuse the beam coming from your light source to create softer, more elegant results. You can use many types of lighting modifiers in your photography studio, and they all diffuse light differently. Let’s discuss some of the most common options below.
Standard Reflector
Umbrella
Softbox
Stripbox
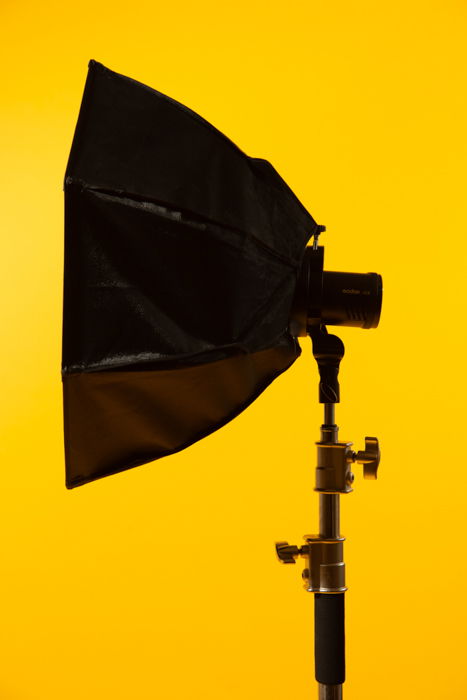
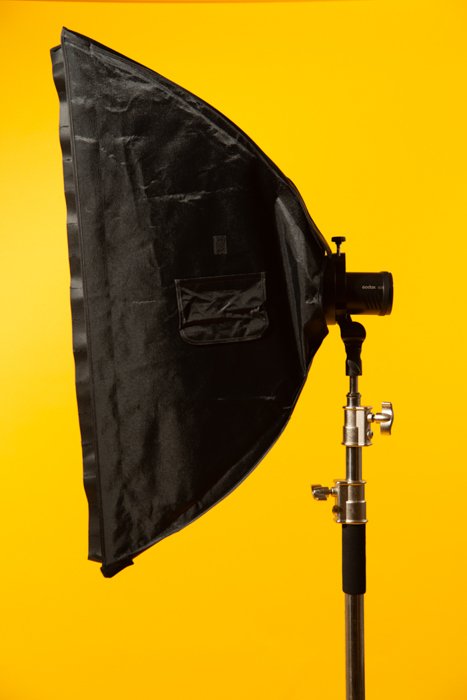
Stripboxes are often used as a hair light to illuminate the edge of the hair and the back of your model’s head. And for still life photography, it’s perfect for lighting the edges of objects. Of course, there are more light modifiers than what we’ve listed. But these options are perfect choices when first setting up a studio.
Studio Photography Equipment
Setting Up Your Photography Studio
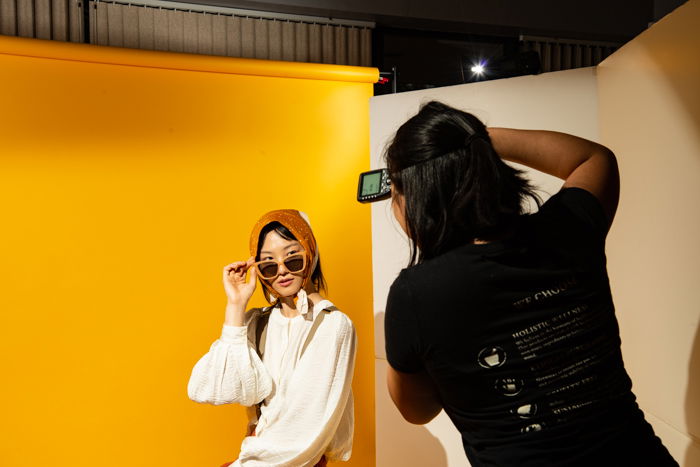
Now, let’s discuss the steps you need to take to prepare your studio for a studio photography shoot. It’s a simple process that you’ll find useful even when you find yourself working in other studios.
1. Set Up the Background
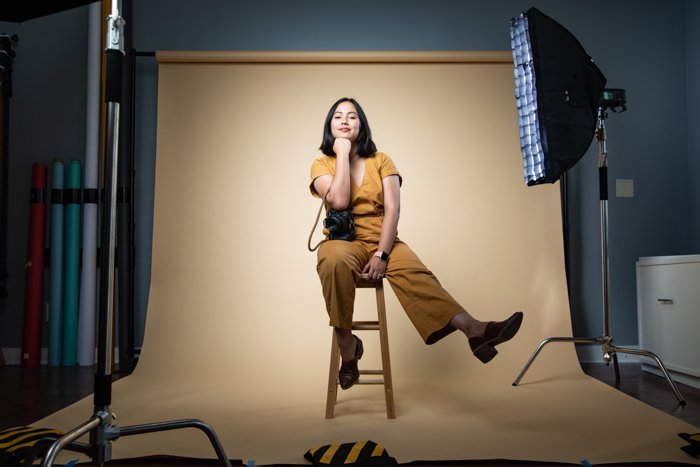
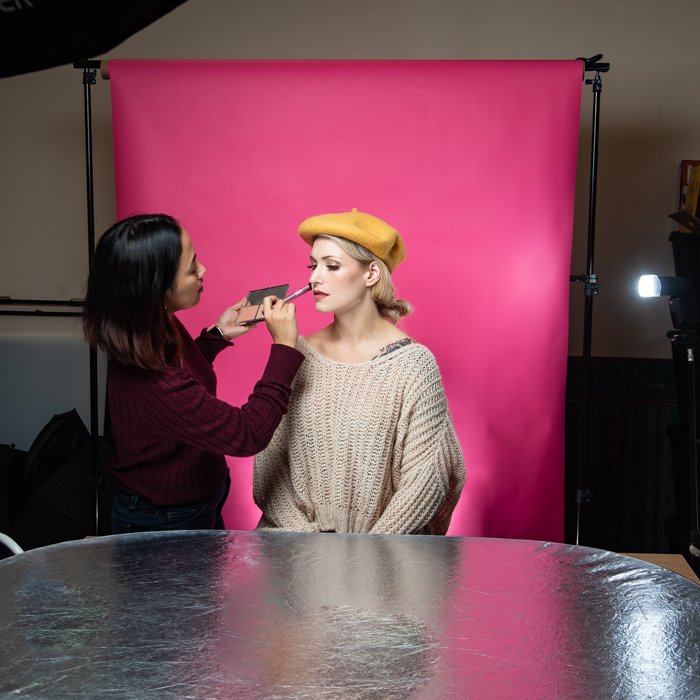
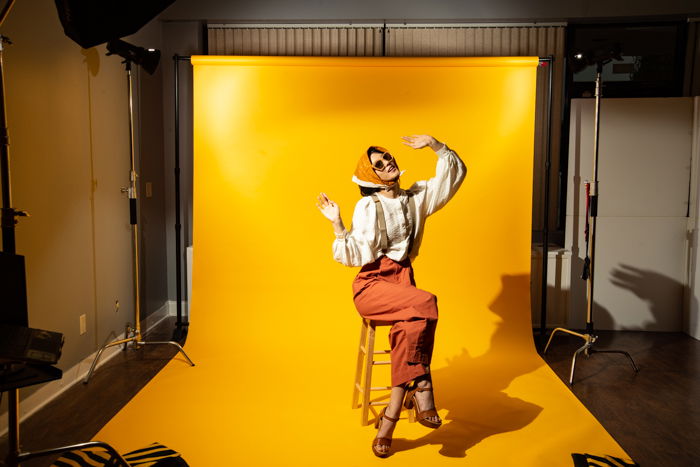
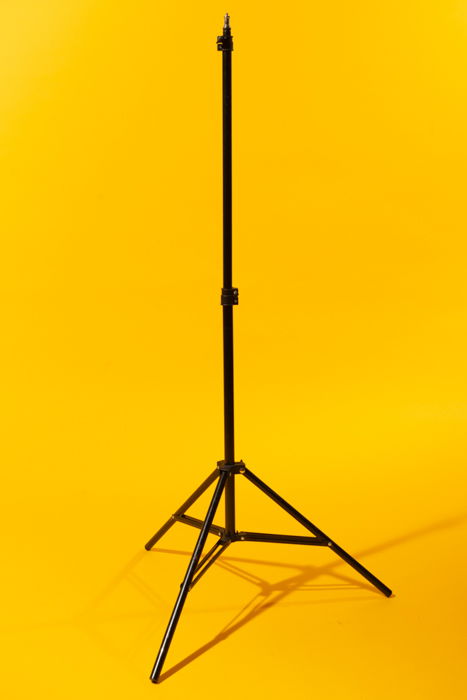
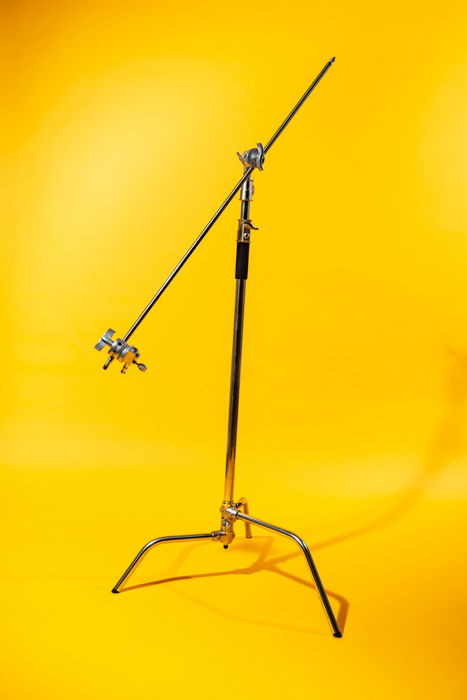
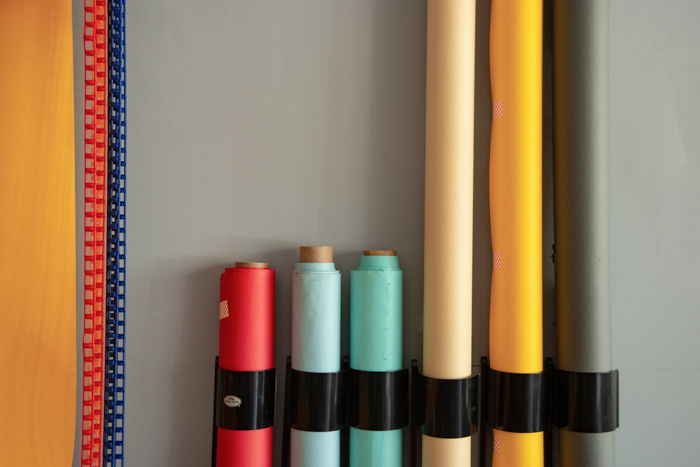
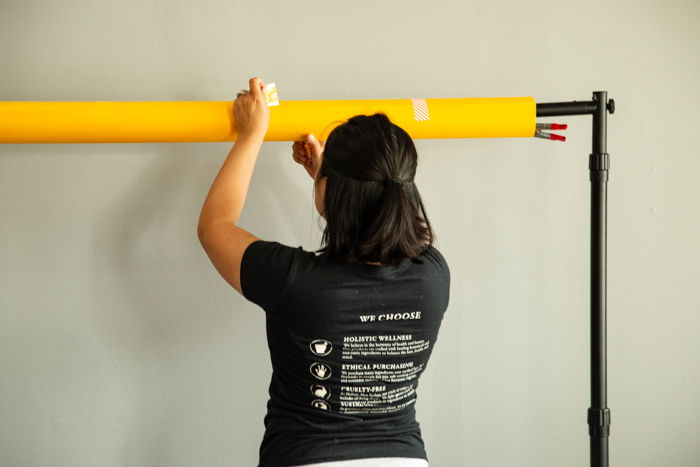
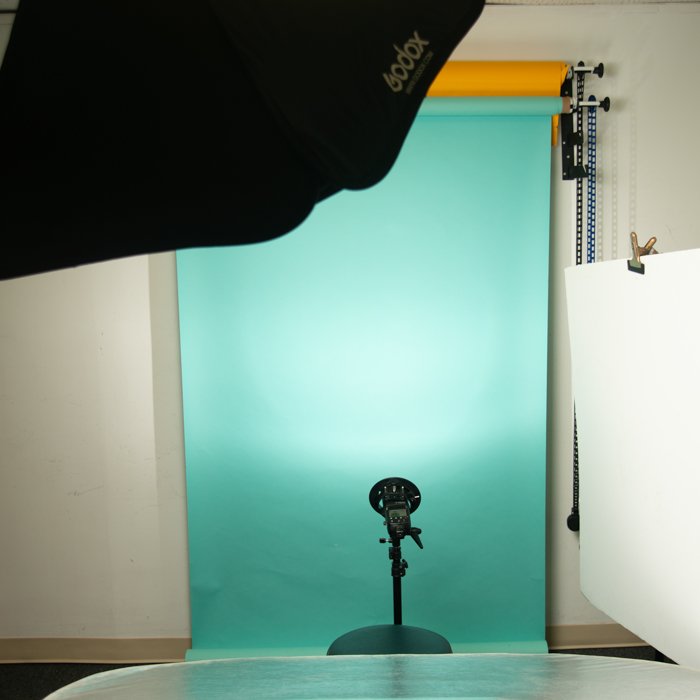
Next, insert the horizontal pole into your roll of seamless paper and install the pole on top of the stands. At this point, you can adjust the height of your background stand and unroll the paper. You can use sandbags or tape to secure the corners of your seamless paper roll to the floor.
2. Set Up the Lights
3. Test Lighting and Equipment
Conclusion
If you want to learn how to put your new studio to use with product photography, check out our Products In Focus eBook!

title: “Studio Photography For Beginners All You Need To Know " ShowToc: true date: “2023-01-03” author: “Harold Riggs”
Our short guide will help you navigate studio photography without overwhelming you. Here’s our list of the tools you need and some tip on setting up your studio space!
The Ideal Spaces for Studio Photography
When looking for space for studio photography, also consider the number of windows on the property. If you’re a natural light photographer, you will need plenty of windows. But if you want to use artificial lighting exclusively, it would be preferable to have a place without windows at all to avoid window lights from interfering with your lights. In reality, most photographers use both window lighting and artificial lighting. If that’s the case for you, then look for a space that lets you block out the windows when you don’t need the ambient light.
Light Sources
There are tons of options for artificial lights. It mostly depends on your budget and the size of your photo studio. We’ll go through your choices below.
LED Lights
Speedlights
Monolights
Monolights are the best lighting option for your photo studio. You can think of them as a combination of a high-powered Speedlight and an LED lamp. Even though they’re strobe lights, they also include a modeling light. That way you can see how your light is affecting your subject in real-time. A moonlight’s light output is at least three times more powerful than speedlights or LEDs. They’re also perfect for large photo studios because they can illuminate large spaces.
Light Modifiers
Apart from studio lights, you’ll also need light modifiers. These pieces of lighting equipment diffuse the beam coming from your light source to create softer, more elegant results. You can use many types of lighting modifiers in your photography studio, and they all diffuse light differently. Let’s discuss some of the most common options below.
Standard Reflector
Umbrella
Softbox
Stripbox
Stripboxes are often used as a hair light to illuminate the edge of the hair and the back of your model’s head. And for still life photography, it’s perfect for lighting the edges of objects. Of course, there are more light modifiers than what we’ve listed. But these options are perfect choices when first setting up a studio.
Studio Photography Equipment
Setting Up Your Photography Studio
Now, let’s discuss the steps you need to take to prepare your studio for a studio photography shoot. It’s a simple process that you’ll find useful even when you find yourself working in other studios.
1. Set Up the Background
Next, insert the horizontal pole into your roll of seamless paper and install the pole on top of the stands. At this point, you can adjust the height of your background stand and unroll the paper. You can use sandbags or tape to secure the corners of your seamless paper roll to the floor.
2. Set Up the Lights
3. Test Lighting and Equipment
Conclusion
If you want to learn how to put your new studio to use with product photography, check out our Products In Focus eBook!


