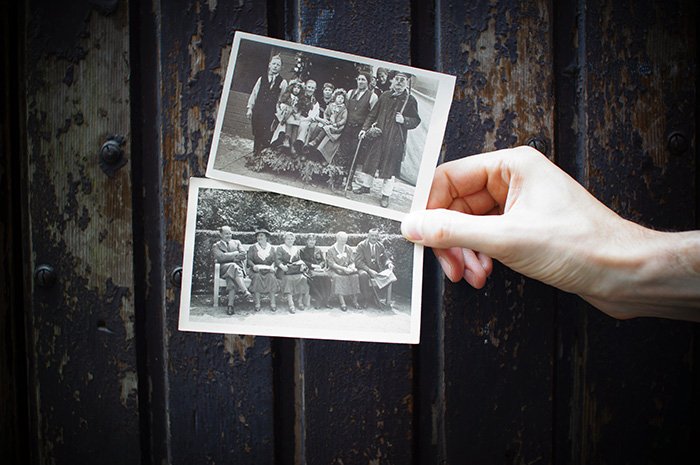
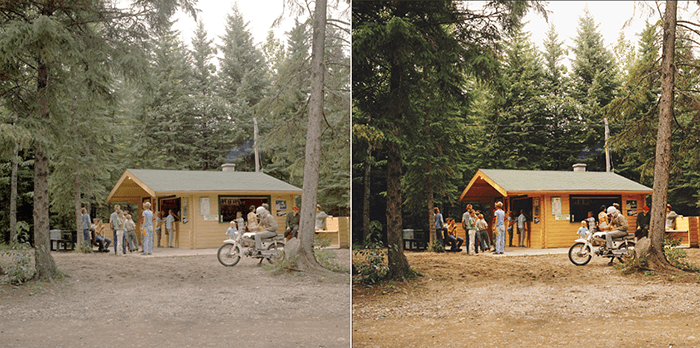
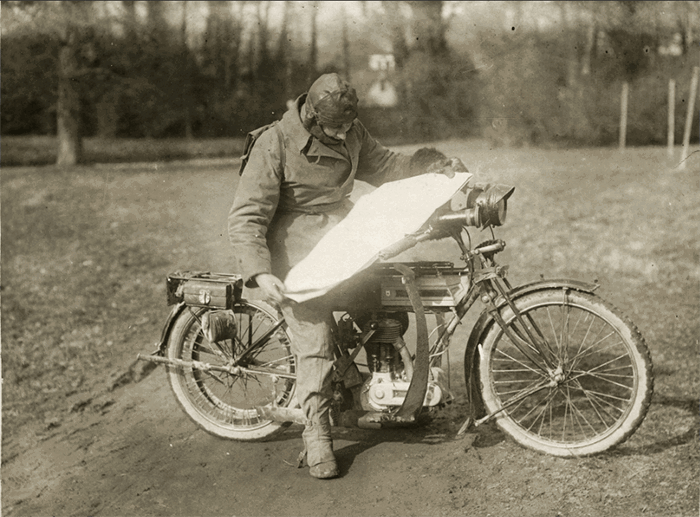
With a few exceptions, you can fix most old pictures in the comfort of your own home. Here’s how to restore old photos.
What You’ll Need to Restore Old Photos
A scanner Adobe Photoshop or other photo editing programs
How to Restore Old Photos in General
These steps need to be taken no matter what kind of photo you have. You’ll learn more about exceptions a little later.
Use a Professional Scanner to Restore as Much Detail as Possible
If your original images aren’t already digital, you need to use a high-quality scanner. This will ensure that you can work with as many details as possible. Blurry scans are extremely difficult to work with. If you don’t have a scanner at home, use one in a store.
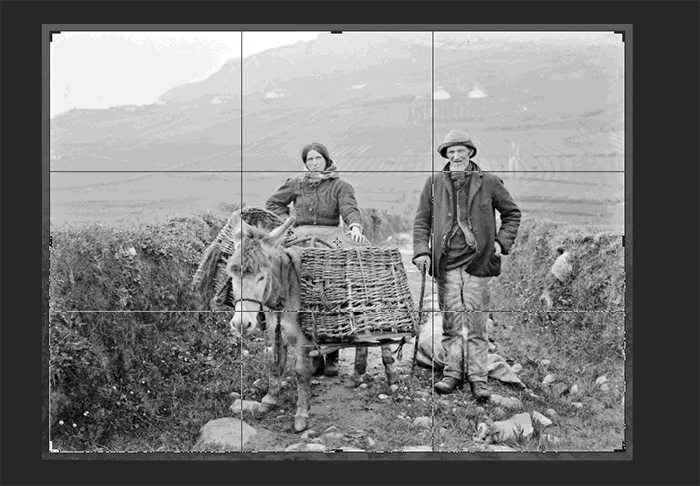
Use the Crop Tool to Remove Distracting Edges
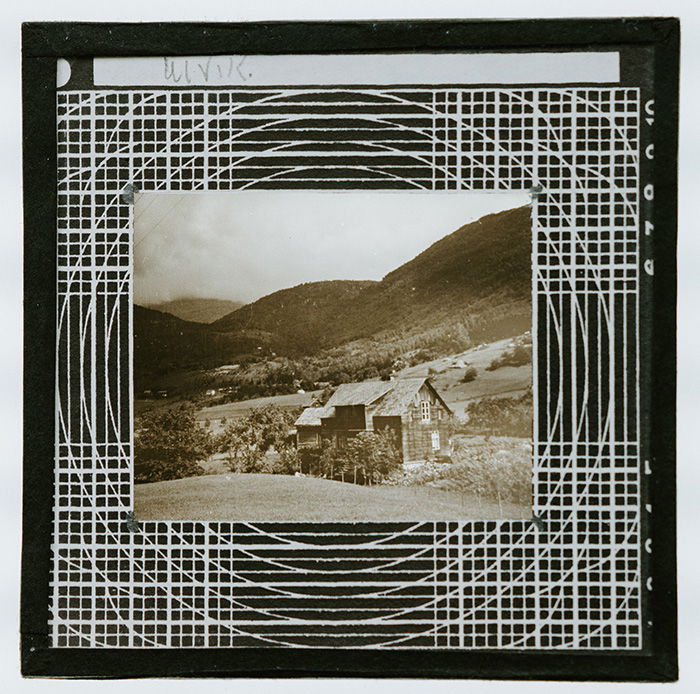
Once your scanned files are ready, open them in Photoshop. Most old pictures have very old frames or edges. These make them look older than they actually are. You can remove them using the crop tool. Avoid cropping too much or else you’ll compromise the quality of the photos.
Create a New Duplicate Layer to Quickly Fix Mistakes
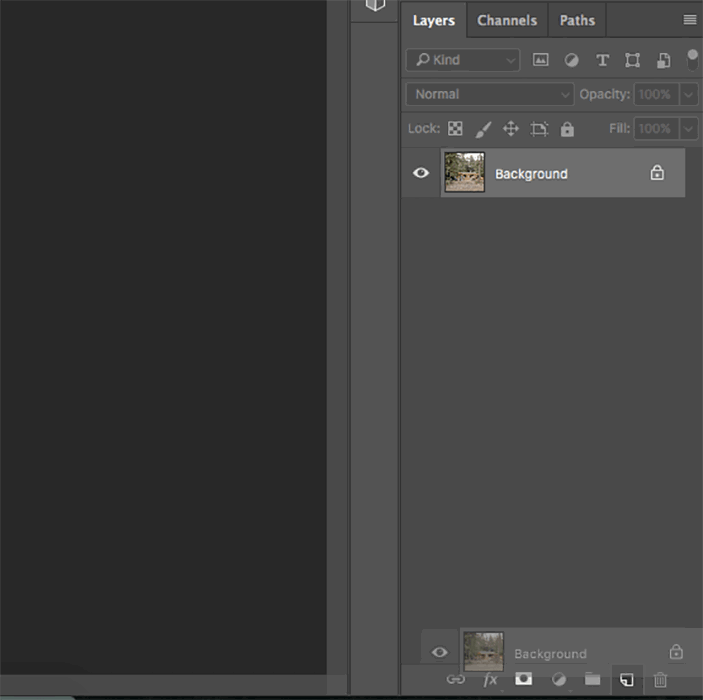
If you do all your work in the same layer, you’ll find it difficult to fix mistakes. Create a duplicate layer by going to Layer > Duplicate Layer. You can also drag the Background layer to the Create A New Layer icon at the bottom right of the program, as pictured above. You can click on the eye next to your layer to quickly see how many changes you’ve made. This is an easy way to spot mistakes and track your photo editing progress.
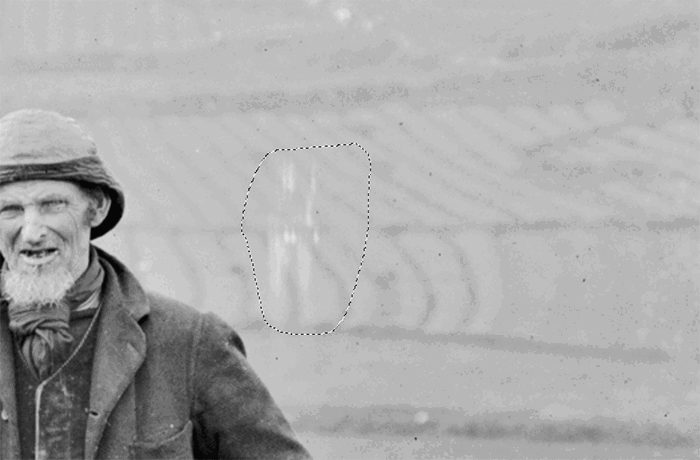
Use the Spot Healing Brush to Remove Small Dust Particles and Scratches
Most scanned photos have dust and scratches. You can remove these using a number of Photoshop tools:
Patch Spot Healing Clone Stamp
All three are similar but serve different purposes. What you choose depends on the complexity of your photograph. Most restoration artists use the spot healing tool as it’s the quickest way to remove details. The patch and clone stamp tools are more time-consuming. But they’re great for removing large blemishes. Adjust the Contrast to Make Your Photo Stand Out
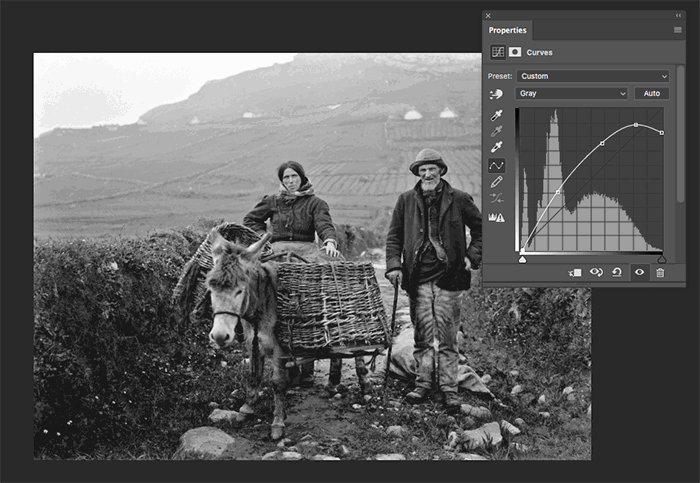
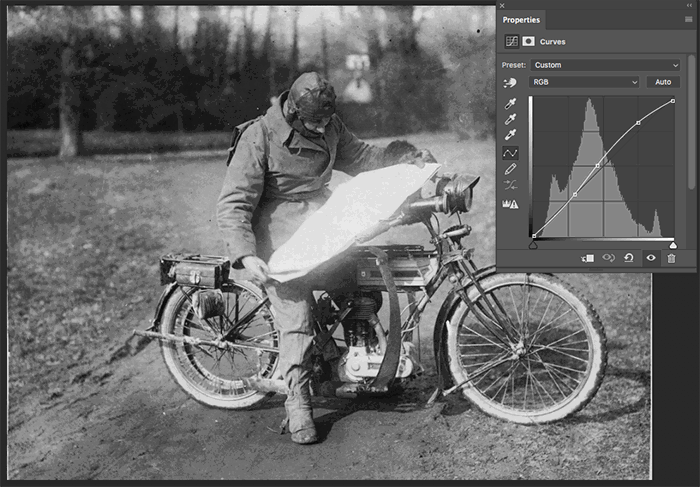
You can use a number of tools to enhance your results. Curves is one of the most detailed Photoshop tools as it can help you alter the shadows, mid-tones, highlights, etc., in one window. Other tools you can use are Levels, Brightness/Contrast, and Exposure.
Emphasize Specific Details Using the High Pass Filter
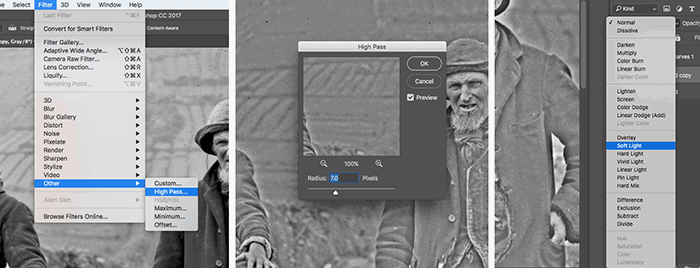
The High Pass Filter isn’t mentioned very often, but it’s a great way to emphasize details in specific areas. If you were to use it on an entire photo, the results would look unnaturally dramatic. This is an optional step you should take at the end of your photo retouching process. The reason is that you have to create another duplicate layer, which might get in the way of other editing tools. Once you create a duplicate layer go to Filter > Other > High Pass and select an intensity that appeals to you. If the effect ends up being too strong, just lower the layer opacity. Change the layer mode to Soft Light. Holding the Option key, click on the Layer Mask icon at the bottom of the layers window. A black box should appear next to your new layer. Using a white brush, gently paint over the areas you’d like to sharpen.
How to Restore Colored Photos
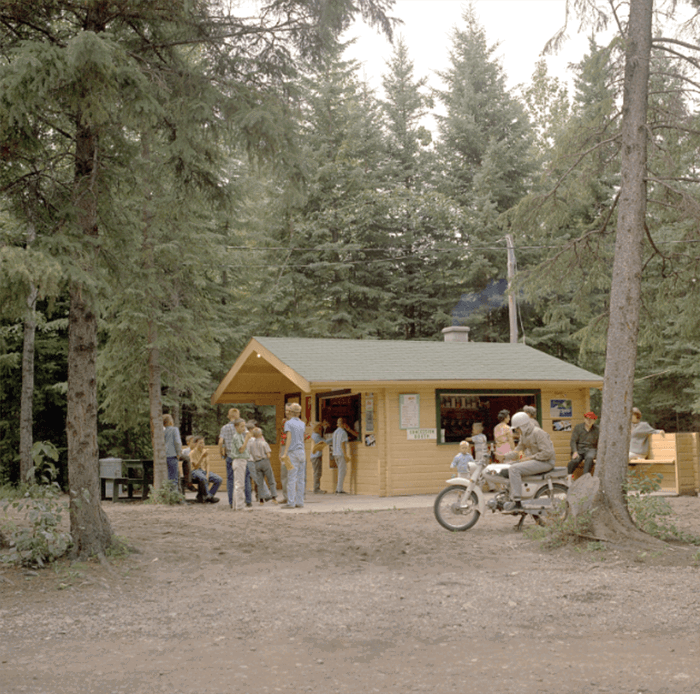
Most of these steps are optional. If you have very flat and faded images, these tools will help you significantly.
Use the Gradient Map Tool to Create Shadows
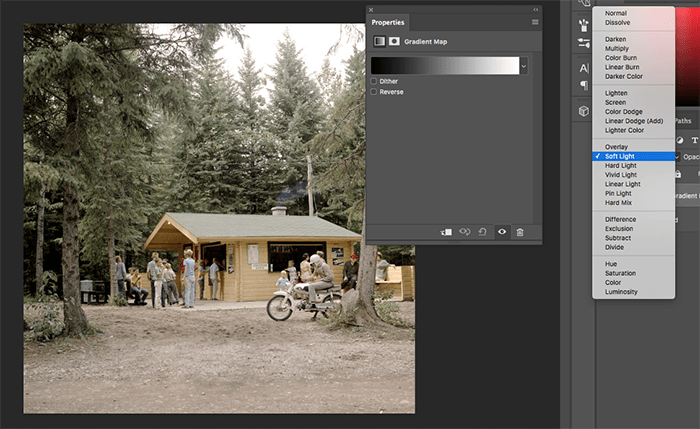
Flat images don’t have a lot of shadows and lack depth. You can make up for this using tools like Curves. If your photos need an extra boost, use the Gradient Map tool. First, make sure your foreground and background colors are set to black and white. Then, click on the New Adjustment Layer icon at the bottom of the Layers window and select Gradient Map. Change the layer mode to Soft Light.
Color Correct Your Image Using These Tools
In addition to being flat, old photographs tend to have faded colors. You can fix this by enhancing them in Curves and Selective Color. First, click on the New Adjustment Layer icon and select Selective Color. Here, you can alter every color in your photo. Use the Black slider to darken colors that are too bright. Next, go to Curves. As I mentioned before, you can have as many Curves layers as you wish. Curves has an RGB channel similar to the one in Selective Color. You can create interesting effects by going to each color and dragging the curve in different directions. (If you want a subtle effect, don’t move the curve too much.) Last but not least, use the Vibrance or Hue/Saturation tool to improve the overall look of your photo.
How to Remove Sepia Tones
It’s not unusual to find sepia tones in old photographs. There’s nothing wrong with a little color. But you might want your photos to look black & white. All you have to do is create a new adjustment layer and select Black & White. This will open a window where you can adjust the tones in your image. Since the photo isn’t in color, your options will be limited. To make the photo stand out, use Curves or a similar tool to make your new b&w photo look fresh.
Best Photo Restoration Software
Photoshop may not be the best option for you if you don’t have enough time for photo editing, have too many photos to retouch, or can’t hire a professional service because it’s too expensive. Fortunately, there are photo editing software that have easy editing tools for old photo restoration:
For Windows Users
Fotophire – this isn’t made exclusively for photo restoration, but it has precise editing tools that can help you easily erase blemishes. Image Mender – like Fotophire, this isn’t made for restoring photos only, but it also has some great editing tools.
For Mac and Windows Users
AKVIS – this is made exclusively for photo restoration and will do most of the work for you. Inpaint – like the first two on this list, it has precise editing tools.
Conclusion
It’s likely that you can restore your own old photographs at home. With the help of a few Photoshop tools, you’ll be able to turn precious family memories into clear and modern-looking pictures. Why not check out our post Vuescan Review : Is it Really the Best Film Scanning Software? next!


